Introduction to CERN GitLab CI/CD
Last updated on 2025-12-20 | Edit this page
Overview
Questions
- What is GitLab CI and why should I use it?
- How does a GitLab pipeline work in practice?
Objectives
- Understand the purpose and benefits of using GitLab CI/CD.
- Be able to create and explain a simple
.gitlab-ci.ymlfile for automating tasks.
Before getting into details, a few links to useful documentation on GitLab CI/CD and also CERN-specific information:
These pages serve as a good entrypoint in case of problems and questions.
If you haven’t follow the setup instructions to add your SSH key to your CERN GitLab account, please do so before continuing with this lesson.
If you are familiar with Gitlab CI/CD, you can skip ahead to the next lesson.
Why Use GitLab CI/CD?
GitLab CI/CD (Continuous Integration/Continuous Deployment) helps you automate tasks like testing, building, or deploying your code every time you make changes. This ensures your code is always working, your results are reliable, and saves you time from catching errors and doing repetitive tasks manually.
GitLab CI/CD is especially useful in collaborative projects, where multiple people contribute code. It helps maintain code quality and consistency across the team.
How Does It Work?
The set of steps and instructions (pipeline) is
defined in a file called .gitlab-ci.yml in your repository.
This file specifies what tasks to run, when to run them, and how to run
them. When you push code, GitLab reads this file and runs the jobs as
described.
What is a GitLab Pipeline?
A pipeline is a sequence of jobs that run automatically when you push changes to your repository. Each job performs a specific task, such as checking your code or building your project.
Key concepts:
- Job: A single task (e.g., run analyzer, create container, check cutflow).
- Stage: A group of jobs that run in order (e.g., test, build, deploy).
- Pipeline: The full set of stages and jobs, triggered by changes to your code.
Example 1: The Simplest GitLab CI Pipeline
Let’s start with the most basic pipeline. This example just prints a message to show that the pipeline is working.
Create a file called .gitlab-ci.yml in your project
folder with the following content:
Now, push this file to your GitLab repository.
Create the
.gitlab-ci.ymlfile as above.-
Add, commit, and push it to your repository:
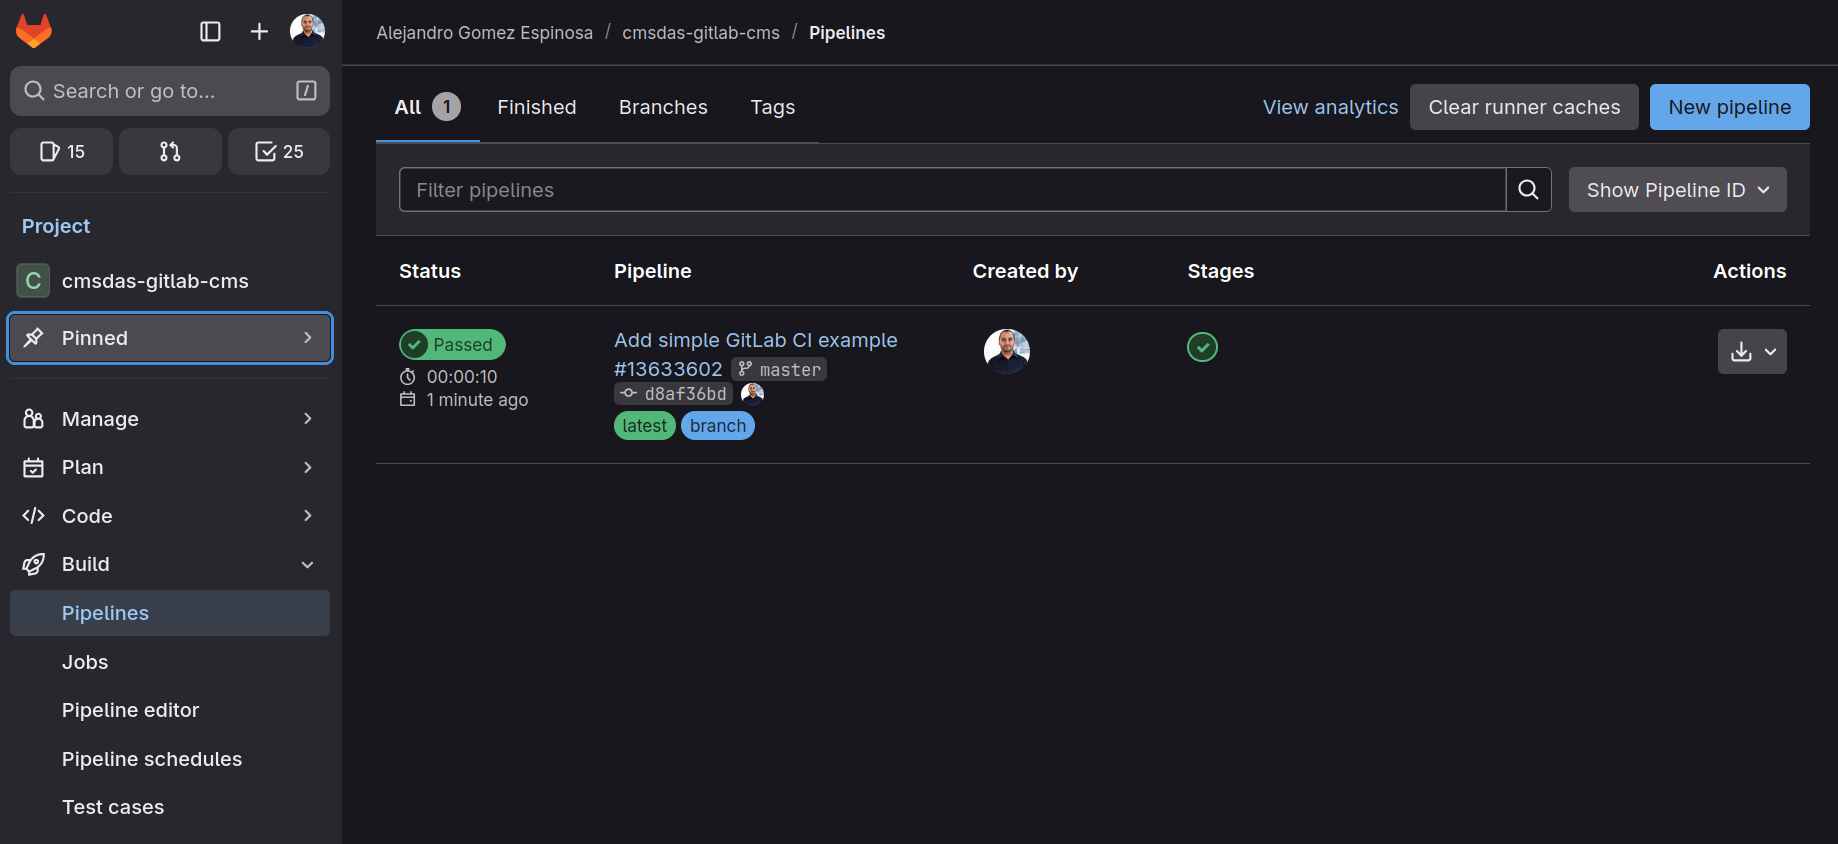
Go to your project’s Build > Pipelines page on GitLab to see it run!
What happens if you follow these instructions?
If you go to the Gitlab website, and to your project’s Build > Pipelines page, you will see a new pipeline has been created and is running. Once it finishes, you can click on the job to see the logs, which will show the message “Hello from GitLab CI!”.
Every time you push to GitLab, it will run the test_job
and print a message in the pipeline logs.
Make sure to explore the Pipelines page to see how it works!
Example 2: A Two-Step GitLab CI Pipeline with Dependency
Now let’s make it a bit more interesting. In this example, the first step creates a file, and the second step uses that file. This shows how jobs can depend on each other.
-
Prepare: Create a file called
message.txtwith some text. -
Show: Display the contents of
message.txt(created by the previous step).
Update your .gitlab-ci.yml file to the following:
YAML
# .gitlab-ci.yml
stages:
  - prepare
  - show

prepare_job:
  stage: prepare
  script:
    - echo "Hello from the pipeline!" > message.txt
  artifacts:
    paths:
      - message.txt

show_job:
  stage: show
  script:
    - echo "The message is:"
    - cat message.txt
Try again the previous steps: 1. Update the
.gitlab-ci.yml file as above. 2. Add, commit, and push it
to your repository:
bash git add .gitlab-ci.yml git commit -m "Add two-step pipeline with dependency" git push
3. Go to your project’s CI/CD > Pipelines page on
GitLab to watch the jobs run in order!
What happens if you follow these instructions?
- When you push this file to GitLab, it will first run
prepare_job(createsmessage.txt). - The file
message.txtis saved as an artifact and passed to the next job. - Then,
show_jobruns and prints the contents ofmessage.txt.
Understanding the .gitlab-ci.yml File
The .gitlab-ci.yml file defines your pipeline. Here are
the main keywords and their purpose:
-
stages:
Lists the steps of your pipeline, in order. Each job is assigned to a stage. -
job:
Each job is a set of instructions to run. The job name is user-defined (e.g.,test_job,build_job). stage:
Specifies which stage the job belongs to.script:
The commands to execute for the job. You can list one or more shell commands.-
artifacts:
Files or directories to pass from one job to another (between stages).
Basic Syntax Rules:
- Indentation matters: use spaces, not tabs.
- The file must start with a list of stages.
- Each job must specify a stage and a script.
For more details, see the GitLab CI/CD documentation.
- GitLab CI/CD automates repetitive tasks and helps ensure code quality.
- Pipelines are defined in
.gitlab-ci.ymland consist of stages and jobs that run automatically on each push.